
Elizabeth is a Permaculture Garden Designer, Sustainability Consultant and Professional Writer, working as an advocate for positive change. She graduated from the University of St. Andrews with an MA in English and Philosophy and obtained a Diploma in Applied Permaculture Design from the Permaculture Association.
Reviewed By COLIN SKELLY

Colin is a Horticulturist and Horticultural Consultant with experience in a range of practical and managerial roles across heritage, commercial and public horticulture. He holds the Royal Horticultural Society’s Master of Horticulture award and has a particular interest in horticultural ecology and naturalistic planting for habitat and climate resilience.
Contributions From DARREN EVANS

Darren is the Plant Manager at Pugh's Cacti, a wholesale supplier of cactus and succulent plants to garden centres in the UK, based in Worcestershire.
Peter is the Society Secretary and representative of the BCSS. Peter has a massive 68 years of experience growing cacti and succulents. He has written and published academic articles about these plants, appearing in BCSS’ Cactus World, and can be found in some of the videos on the society’s YouTube account, sharing his Manchester-based collection.
IN THIS GUIDE
Learning how to propagate succulents at home means reducing the number of succulents you need to buy.
Making new plants from your existing ones will save you money, growing your collection for free.
It can also help you to avoid bringing extra plastic pots or packaging into your home.
The more you can take a DIY approach and do things yourself at home, the closer you can move to a truly sustainable, zero-waste lifestyle.
In this guide, we will take you step-by-step through the simple process involved in propagating succulents.
How Succulents Are Propagated
Most succulent plants are propagated through cuttings or through offsets.
The type of cutting that is taken varies depending on which succulents you are dealing with.
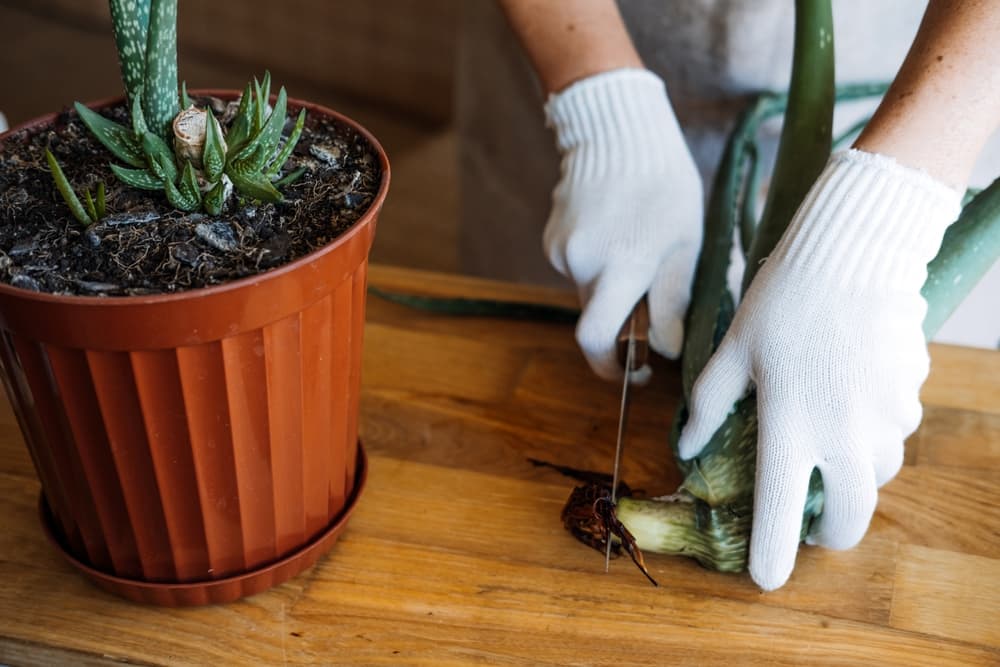
Sometimes leaf cuttings are taken, and sometimes stem cuttings – the particular plants you select will determine which of these you will take.
Often, taking a succulent cutting will simply involve taking a clean and well-sharpened blade and snipping off some of the fleshy leaves, perhaps along with a portion of stem.
While you may well be able to take more than one cutting at one time from a mature plant, it is best to make sure you do not take too many portions of the plant at one time, as this may weaken or put too much stress on the original.
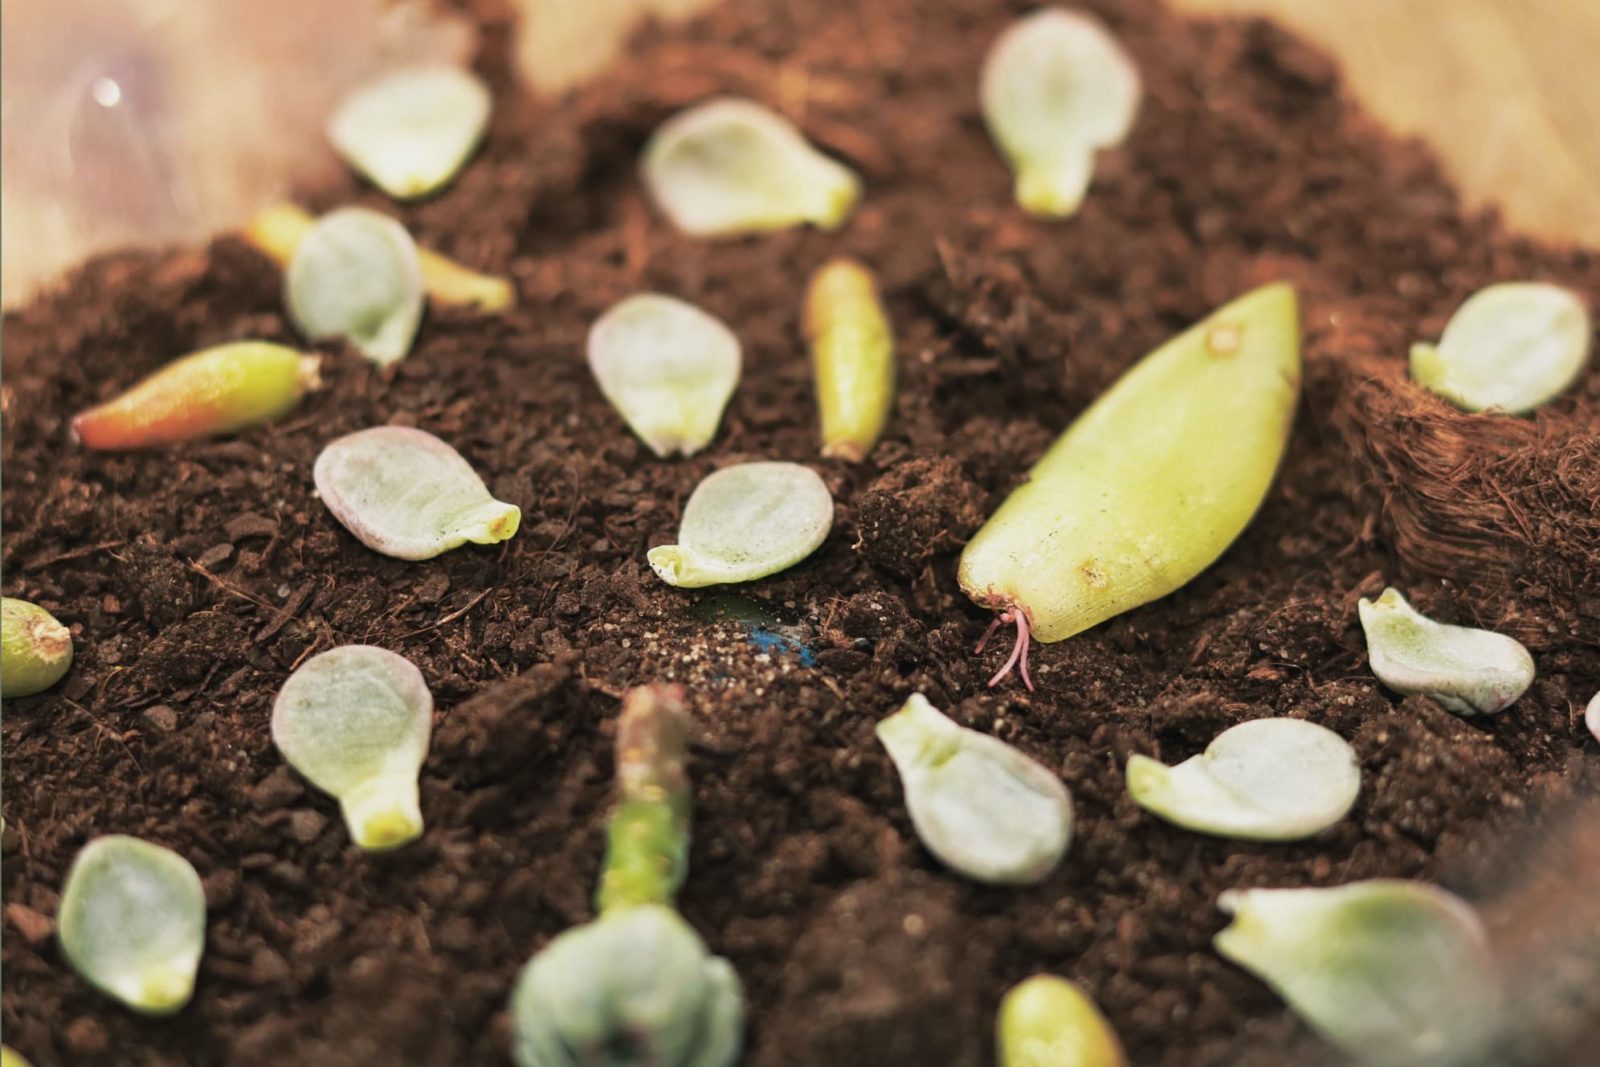
“Most succulents grow from leaf pullings,” says Darren, from Pugh’s Cacti, a specialist nursery.
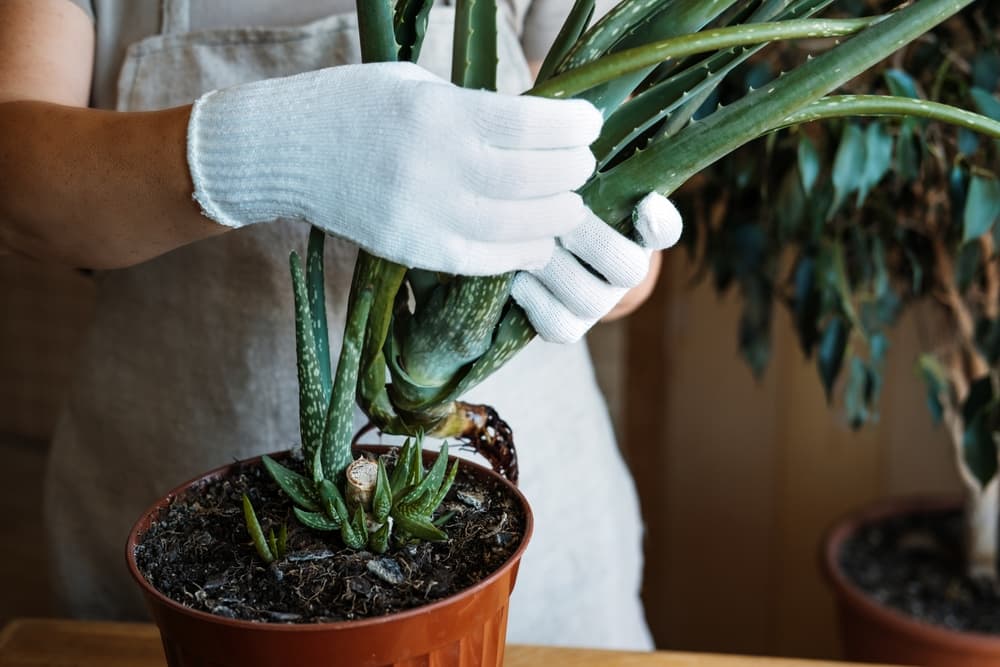
Sometimes, things are even simpler and smaller offsets will naturally develop close to the mature plant.
This is true, for example, for succulents which form rosettes, like aloe and echeveria.
In these cases, propagation is simply a matter of carefully cutting these away from the mature plant.
“Succulents are among the easiest group of plants to propagate,” shares Master Horticulturist Colin Skelly.
“Because they are adapted to handle dry conditions, they are less prone to drying out than many cuttings. In fact, the risk to cuttings is far more from overwatering.”

How To Propagate Succulents
Though propagating most succulents really could not be easier, there are a few steps to take to make sure that your cuttings or offsets root successfully.
So let’s take a look at the simple process, step by step –
1) Allowing Cuttings / Offsets To Form A Callus
“Cacti and succulents will produce offshoots,” explains Darren.
“These can be detached from the main plant easily but will need to be dried for at least 7 days first.”
As Darren explains, as soon as you have cut and gathered your leaf/stem cuttings or little offsets, you cannot just plonk these into soil or a growing medium right away.
Instead, you have to wait for the cut section of the succulent sections to form a callus.
In other words, you need to wait for it to harden or dry and scab over.

“Propagation of cacti and succulents is generally simple,” explains Peter Bint, the Society Secretary of the British Cactus and Succulent Society.
“When you remove a cutting from a plant it is essential to allow the cut surface to heal and harden. This is done by placing the cutting in a dry airy place for about a week.”
A callus over the wound protects it from rot or disease – it is important to let the hardened callus form before your succulent cuttings are exposed to water or dampness.
Place your cuttings on a sunny windowsill or another light and dry place for a week or so before you proceed to the next step in the process.

“The cut section needs to callus over and dry for a minimum of 7 days to allow the cut to fully dry and prevent mould,” says Darren.
“Most cacti and succulents are happy to sit this way for some time. In the nursery, we have had cuttings sit this way for 12 months and still grow once potted.
“Cuttings should be taken in summer to allow the cut to heal quickly as mould can develop.
“If this happens, recut and allow it to dry again. Dipping the cut end in cinnamon can help prevent mould from forming.”
2) Choose A Suitable Potting Mix
It is important to choose a potting mix specifically designed for succulents, with good drainage.
“Prepare the compost you intend to root the plant into,” says Peter.
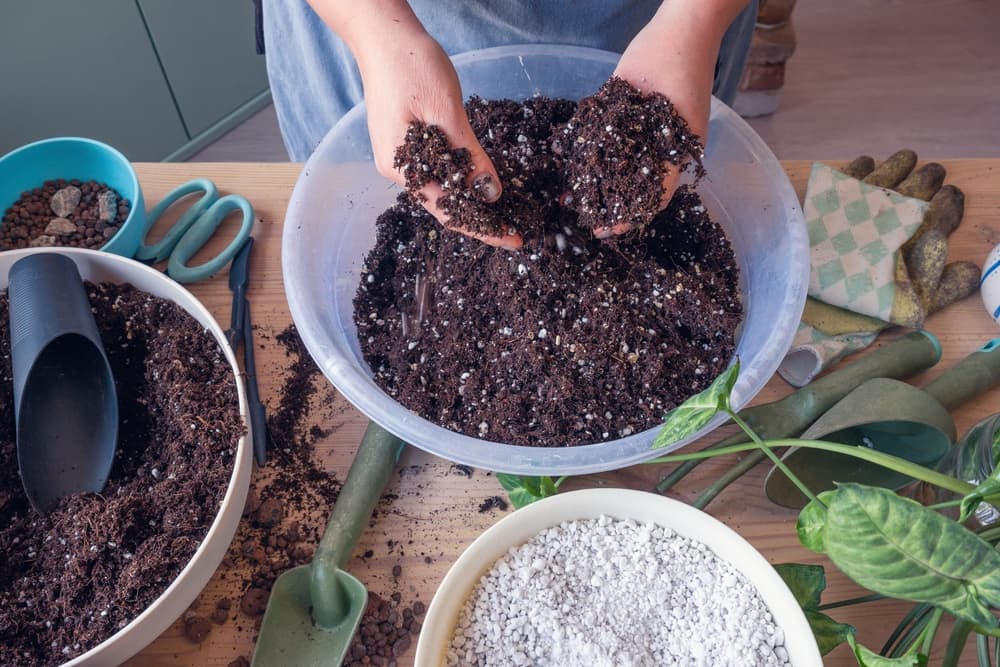
“This should be reasonably sandy and coarse. Do not use a peat mixture.”
The type of container you choose is also important, as that can determine how successfully water will escape and how warm it will be.
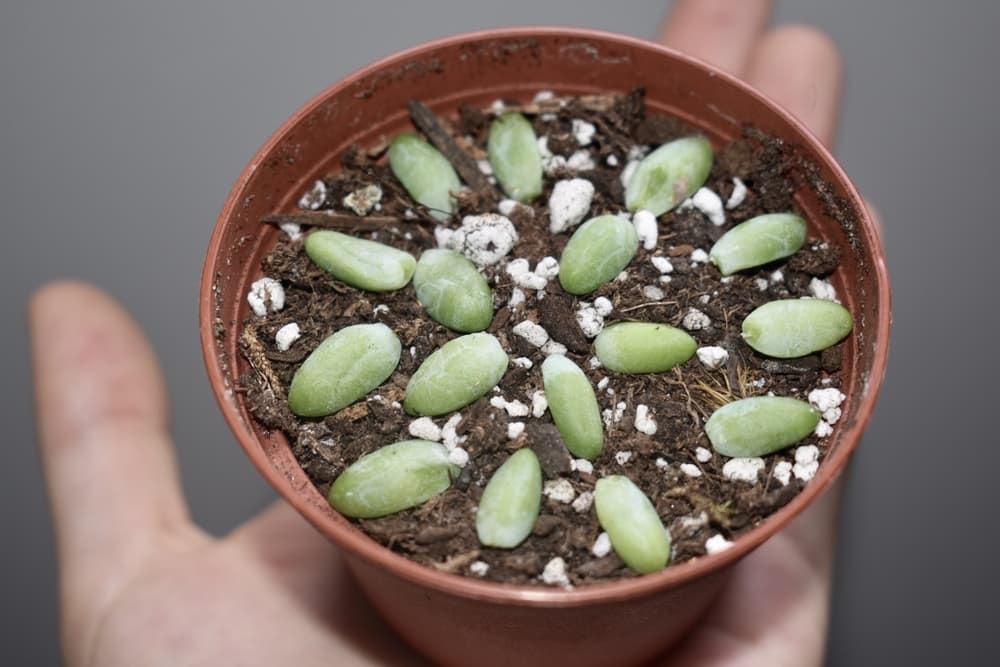
3) Place Cuttings / Offsets In Their New Containers
“Place the soil in the pots you intend to use, then allow the soil to soak up so water until it is moist,” explains Peter.
“After, you can put your cuttings into this mix.”
As soon as your succulent cuttings have developed their callus, you can next place them on top of a suitable potting mix in your chosen pots or containers.
Place these in a suitable location.

Make sure you take into account the temperature, light and other environmental needs of the particular succulents you have chosen to propagate.
“Place your succulent in a light place that is shaded from direct sunlight,” says Peter.
“Make sure the soil is kept slightly moist so that new roots have the ability to take in moisture.”
4) Wait For New Root Systems To Form
After you have placed your new succulents into the top of your containers, on the suitable potting mix you have chosen for them, you should water a little, around once a week (depending on variety) and wait patiently for little roots to develop.
The length of time that it will take for succulent cuttings to root will depend at least in part on which variety of succulent you are propagating, as Peter shares:
“Rooting can be anything from a couple of weeks to six months according to the species.

“Succulents are usually quicker to root than cacti.”
With some cuttings, you will know that they have rooted successfully when you pull very gently on the cutting and it does not come away but is held in the growing medium to a degree.
Sometime later, you may see new leaves forming on the cuttings, and the withering of the original leaf.
Once the original leaf has withered, you can remove it.
5) Pot Up Your New Plants
Once your succulent cutting has formed some roots, you can pot up each of your new plants.
Be sure to place each plant into a pot or container filled with the same medium in which it was previously grown, as this will lessen any type of transplantation shock and reduce the amount of stress on your plants.
Watering and environmental needs will of course vary depending on which succulents you are growing.

However, as a general rule of thumb, succulents in pots should be placed somewhere where they receive indirect but relatively bright light which is received for at least six hours each day.
And should be watered weekly, taking care to be light-handed and consistent.
6) Place Plants In Their Final Growing Positions
After they have been left to establish in their new pots or containers for a few weeks, your succulents should be rooted and growing strong.
At this point, you can consider placing them in their final growing location – whether in larger containers, inside your home or outside, in an undercover growing area such as a greenhouse or polytunnel, or in garden beds or borders.
“Many succulents can happily be grown outdoors when frosts have finished,” Peter shares.
“They will need some protection from excessive rain and wind. They need to return to an indoor environment by mid-September.

“Succulents are much easier to grow in a greenhouse or conservatory than on a windowsill. They can also be grown on the balcony of a flat in the warmer months.”
Slightly different processes are followed (and different cuttings taken) for different succulents.
But as you can see from the above, it is rather easy and straightforward to make new succulents from those you have already grown.
So as soon as you have purchased your first few succulents, you can easily grow your collection over time.